
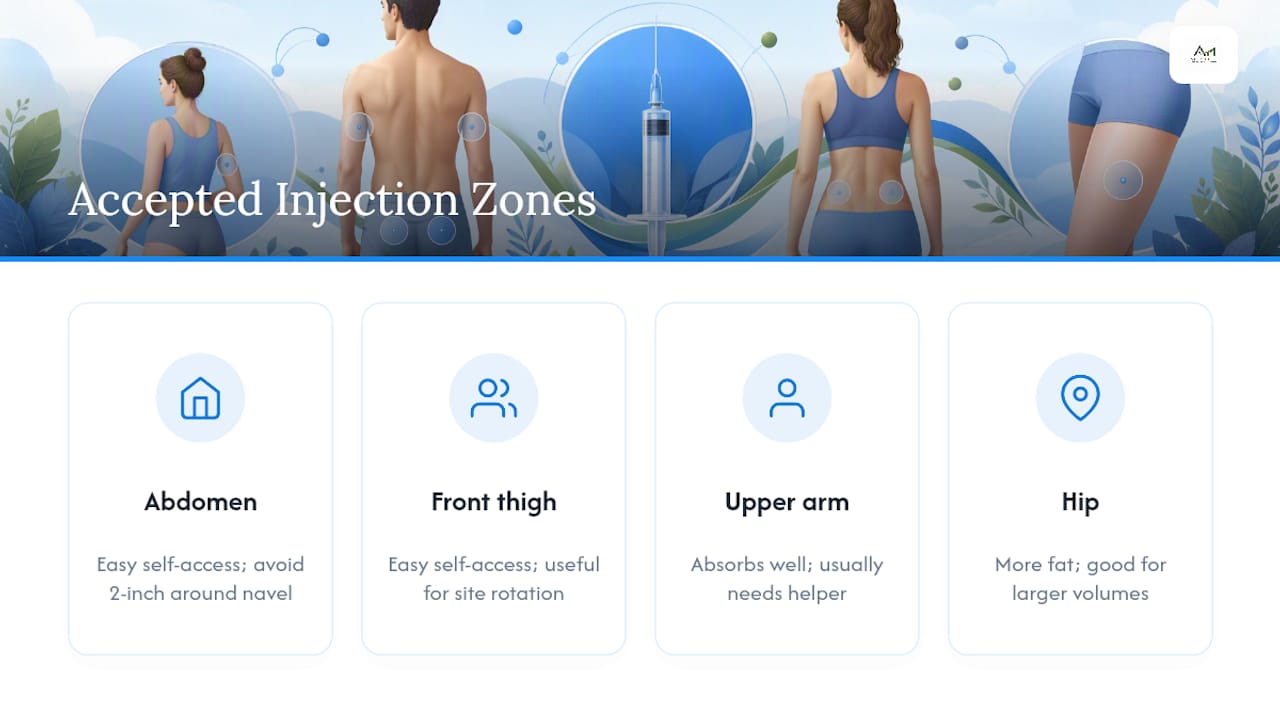
The safest subcutaneous injection sites are the abdomen (staying at least 2 inches from the navel), the front or outer thigh, the back of the upper arm, and the upper buttocks or hip. Rotate between them, spacing each new injection 1 to 2 inches from the last one. Most people use a 90° needle angle with a full skin pinch; those with very little fat under the skin often need a smaller angle instead.
- Approved zones: abdomen (outside a 2-inch ring around the navel), front/outer thigh, back of upper arm, upper hip or buttock.
- Spacing rule: keep each new injection 1 to 2 inches from the previous one.
- Angle rule: 90° for most people; 45° if you're lean or your clinician told you to.
TL;DR:
- Inject into one of the four approved sites—abdomen, thigh, upper arm, or hip—and rotate each injection 1 to 2 inches to prevent tissue buildup.
- Use a 90° angle with a full skin pinch for most body types, switching to 45° if you have little fat or during specific clinician instructions.
- Always keep the skin pinched during manual injections to avoid pushing medication into muscle, which alters absorption and causes pain.
- Confirm the injection site is free of redness, swelling, or tenderness, and call your clinician if you notice signs of infection or unusual reactions.
- Seek supervised training from a healthcare professional before your first self-injection to ensure proper technique and reduce risks.
Table of Contents
- Getting Ready: Supplies, Hygiene, and Setting Up Your Space
- Which Injection Site Is Best for Your Body?
- How Do You Actually Give the Injection?
- Why Rotating Injection Sites Matters
- What to Do After Every Injection
- Why Clinician Training Still Matters Before You Self-Inject
- Key Takeaways
- What Actually Matters Most in This Process
- Sources
Getting Ready: Supplies, Hygiene, and Setting Up Your Space
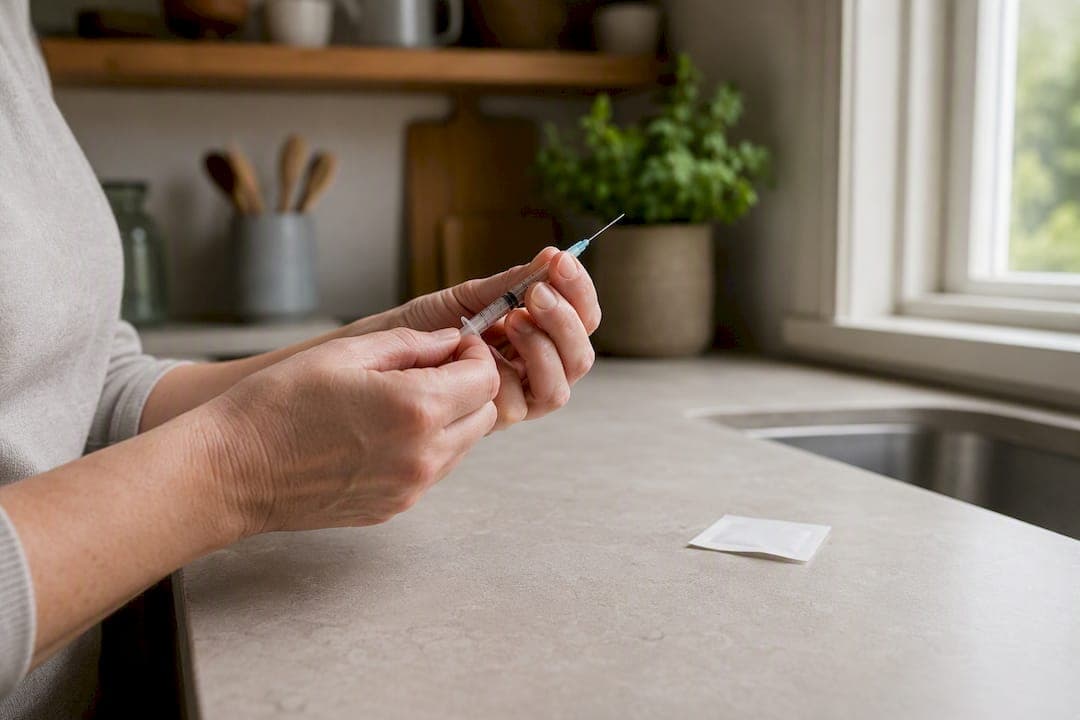
Before you touch a syringe, lay out everything you'll need. Fumbling for a bandage with an uncapped needle in hand is how accidents happen.
- Gather your supplies: the syringe or injection pen, an alcohol swab, a sharps container, gloves if you prefer them, and an adhesive bandage.
- Wash your hands for at least 20 seconds with soap and water, or use hand sanitizer if a sink isn't available.
- Inspect the medication. Check the color, clarity, and expiration date, and confirm it's been stored the way the label says, since some injectables need refrigeration and others don't.
- Set up a clean, well-lit, flat surface and put the sharps container within arm's reach before you draw up the dose, not after.
- Swab the injection site and let the alcohol air-dry fully. Injecting into wet alcohol stings and can irritate the skin.
Pro Tip: Set a timer on your phone for the first few doses. Rushing prep is the most common reason people skip steps like letting the alcohol dry or double-checking the expiration date.
Which Injection Site Is Best for Your Body?
No single site works for everyone, and the right choice depends on your build, your dexterity, and whether someone's helping you.
The abdomen is the most popular self-injection site because you can see it and reach it easily. Stay outside a 2-inch radius around your navel, where the tissue is thinner and more vascular.

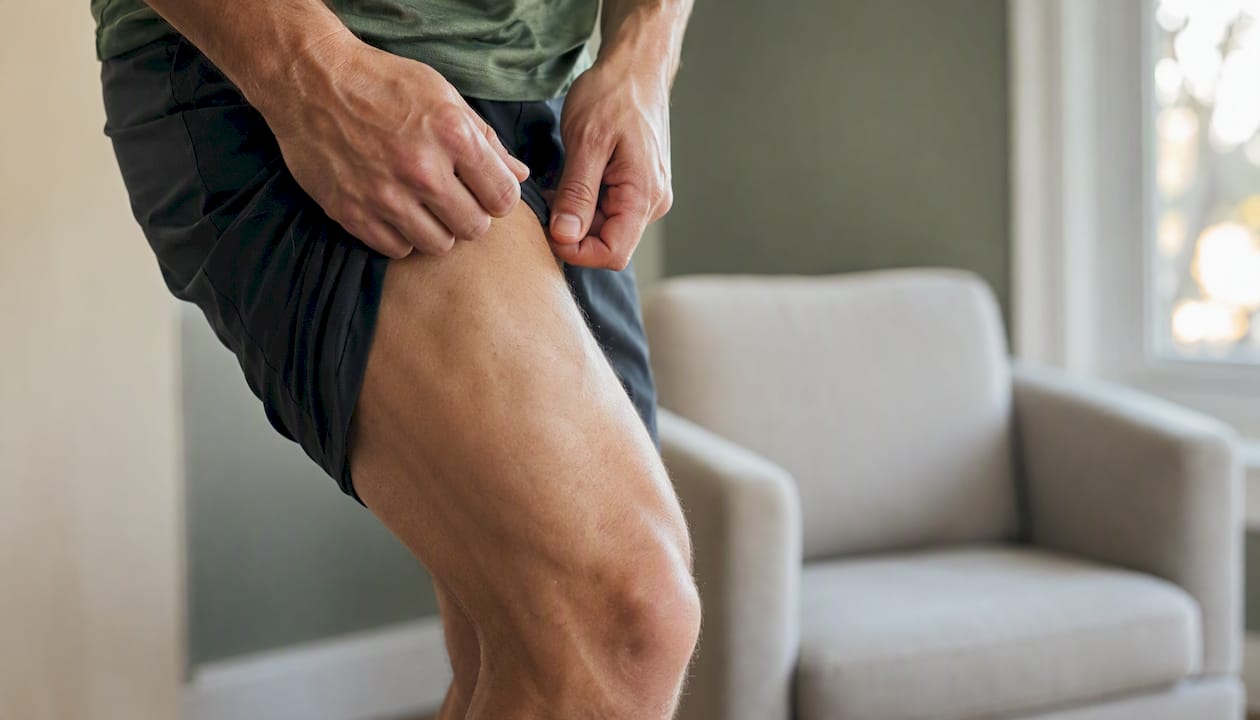
The front or outer thigh is another easy self-access option, particularly for people who find the abdomen too sensitive or who are cycling sites to avoid overuse in one area.
The back of the upper arm absorbs medication well, but most people can't pinch and inject there alone. It usually takes a partner, spouse, or friend to help.
The upper buttocks or hip works well for larger-volume injections and tends to have more fat coverage, which is useful for people who are very lean elsewhere. It's harder to reach solo, so it is often a helper-assisted site too.
Skip any spot that's scarred, bruised, red, tender, or currently swollen. If you're very thin, favor the abdomen or hip where there's more cushioning; if you carry more fat overall, almost any of the four zones will work, but you may need a slightly longer needle for thicker tissue. MedlinePlus and Cleveland Clinic both list these four zones as the clinically accepted standard.
How Do You Actually Give the Injection?
Once your site is clean and dry, the technique itself takes less than 30 seconds.
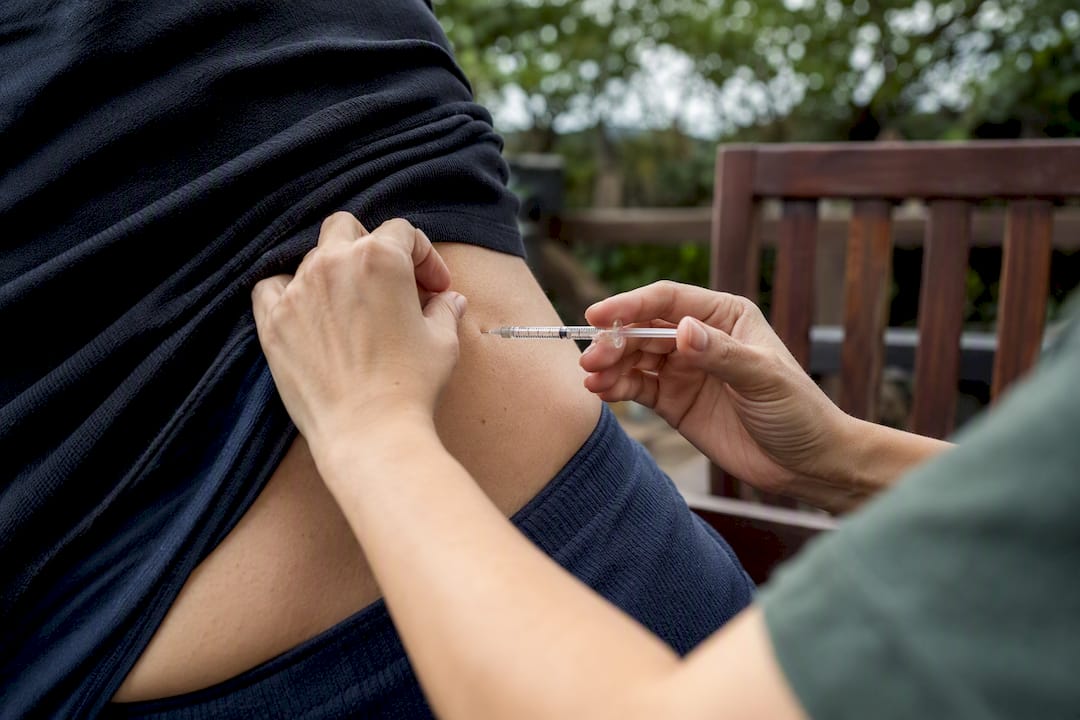
- Pinch 1 to 2 inches of skin between your thumb and forefinger, lifting it away from the muscle underneath.
- Hold the syringe like a pencil and insert the needle in one quick, smooth motion. Hesitating halfway in just adds pain.
- Choose your angle based on your body. A full pinch with average fat coverage calls for a 90° angle; if you're lean or your prescribing clinician specifically told you to, use 45° instead. The angle matters because injecting too shallow risks landing in skin instead of the fat layer, while injecting too steep in a thin person risks hitting muscle.
- Keep holding the pinch through the entire injection if you're using a manual syringe. Letting go early can shift the needle into muscle. Prefilled pens are built differently. Many don't require a sustained pinch, so follow the specific device instructions that came with your prescription.
- Push the plunger slowly and steadily rather than all at once. A slow push causes less tissue pressure and less bruising.
- Remove the needle straight out at the same angle it went in, then hold light pressure over the site for a few seconds with a clean cotton ball or gauze.
Don't rub the injection site after you pull the needle out. Rubbing can push medication into surrounding tissue unevenly and bruise the skin more than the injection itself would.
Bandage the site only if it's still bleeding after you apply pressure; most subcutaneous injections don't need one. Drop the used needle into your sharps container immediately, before you set anything else down.
Pro Tip: If your hand shakes during insertion, brace your elbow against your body or a table. A steadier entry point hurts less than a wobbly one.
Published clinical reviews on subcutaneous hormone dosing note that trial protocols commonly use 5/8-inch needles in the 20 to 25 gauge range, though your prescribed device may differ. Always default to what your clinician or the manufacturer's insert specifies over any general rule.
Why Rotating Injection Sites Matters
Injecting the same spot over and over causes lipohypertrophy, a buildup of firm, lumpy tissue under the skin that absorbs medication inconsistently. Feel the area before you inject; if it's firm, thickened, or numb-feeling, move somewhere else.
- Rotate at least 1 to 2 inches away from your last injection site every time.
- Use a written log, a body-map printout, or a rotation calendar app to track where you've injected and when.
- Rotate between all four approved zones over weeks, not just within one zone, to give tissue time to recover.
- Expect mild soreness or a small bruise. That's normal and usually fades within a day or two.
- Call your clinician if you notice spreading redness, increasing warmth, fever, or swelling that doesn't settle down.
Consistent rotation isn't just about comfort. It directly affects how reliably your body absorbs the dose you're taking.
What to Do After Every Injection
Aftercare takes seconds, but skipping it is how minor injections turn into avoidable problems.
- Hold gentle pressure over the site for several seconds using clean gauze or a cotton ball, without rubbing.
- Bandage only if needed. If bleeding stops within a few seconds, you usually don't need one.
- Dispose of the needle in an FDA-cleared sharps container right away. Most pharmacies and community household hazardous waste programs accept full containers for safe disposal.
- If you experience a needle-stick, uncontrolled bleeding, or think you gave the injection in the wrong spot or at the wrong depth, contact your prescribing clinician immediately for guidance rather than waiting to see what happens.
Why Clinician Training Still Matters Before You Self-Inject
Reading instructions is not the same as watching a nurse show you the motion once. If this is your first time self-injecting anything, ask for a supervised demonstration before you try it alone at home.
- A trained clinician or nurse can confirm your technique, your angle choice, and your site selection match your specific medication and body type.
- Airmedfit builds its physician-supervised hormone therapy, GLP-1, and peptide programs around exactly this kind of individualized guidance, pairing prescriptions with the supplies and support needed for safe at-home administration.
- Follow-up checks catch site problems, like early lipohypertrophy or a reaction, before they become bigger issues.
- Device instructions vary. A prefilled pen and a manual syringe don't always call for the same pinch or angle, so match your technique to your specific device.
If you're starting testosterone replacement, a GLP-1 program, or a peptide protocol and want that supervision built into the process from day one, Airmedfit's physician-supervised programs pair prescribing clinicians with lab monitoring and injection guidance rather than leaving you to piece it together from a package insert.
Key Takeaways
Safe subcutaneous self-injection depends on choosing an approved site, avoiding the 2-inch navel zone, rotating locations, and matching your needle angle to your body composition.
| Point | Details |
|---|---|
| Stick to four approved zones | Abdomen (outside 2 inches from the navel), thigh, upper arm, and upper hip or buttock are the accepted sites. |
| Rotate every time | Space new injections 1 to 2 inches from the last one to prevent lipohypertrophy and uneven absorption. |
| Match angle to body fat | Use 90° with a full pinch for most people; switch to 45° if you have little fat under the skin. |
| Watch for red flags | Spreading redness, fever, uncontrolled bleeding, or persistent swelling means call your clinician. |
| Get trained before your first dose | A nurse or clinician demonstration catches technique errors that written instructions alone can miss. |
What Actually Matters Most in This Process
Most injection guides bury the one instruction that prevents the most harm: maintaining the pinch through the entire injection when you're using a manual syringe. Skip that step, even once, and you risk pushing medication into muscle instead of fat, which changes how fast it absorbs and how much it stings. Site selection gets more attention than it deserves relative to technique consistency. People fixate on choosing the "right" spot on their body when the bigger risk is sloppy rotation habits and inconsistent angle choice week over week.
The conventional advice also underplays how much devices differ. A pen isn't a syringe, and treating every device the same way is where a lot of self-injection mistakes start. If you're new to this, get a clinician to watch you do it once before you're on your own. That single demonstration prevents more problems than any written guide, including this one.
— Organic
This article is general information, not a substitute for advice from a qualified doctor. Consult a qualified healthcare professional about your own circumstances before acting on anything here.
Sources
This guidance draws from established patient-education standards, including MedlinePlus on accepted sites and spacing, Cleveland Clinic on rotation and technique, MSKCC on prefilled syringe steps, and Johns Hopkins Arthritis Center on warning signs. Always follow the specific instructions your prescribing clinician gives you, since they can override general guidance for your exact medication.
- Subcutaneous (SQ) injections: MedlinePlus Medical Encyclopedia
- Subcutaneous Injections: Where and How To Give — Cleveland Clinic
- Subcutaneous administration of testosterone esters — PMC clinical review